Renew Your Bathroom Seal: A Step-by-Step Caulking Guide
How to Refresh Your Shower and Tub Caulking Like a Pro
Over time, bathroom caulk can crack, discolor, or develop mildew, compromising both aesthetics and functionality. Replacing it is an affordable DIY project that requires minimal tools and delivers a clean, watertight finish. Here’s how to tackle it efficiently:
Tools & Materials
- Utility knife or razor scraper
- Isopropyl alcohol
- Mold-killing cleaner
- Mineral spirits
- Blue painter’s tape
- Waterproof silicone caulk
- Caulk gun
- Lint-free rag or paper towels
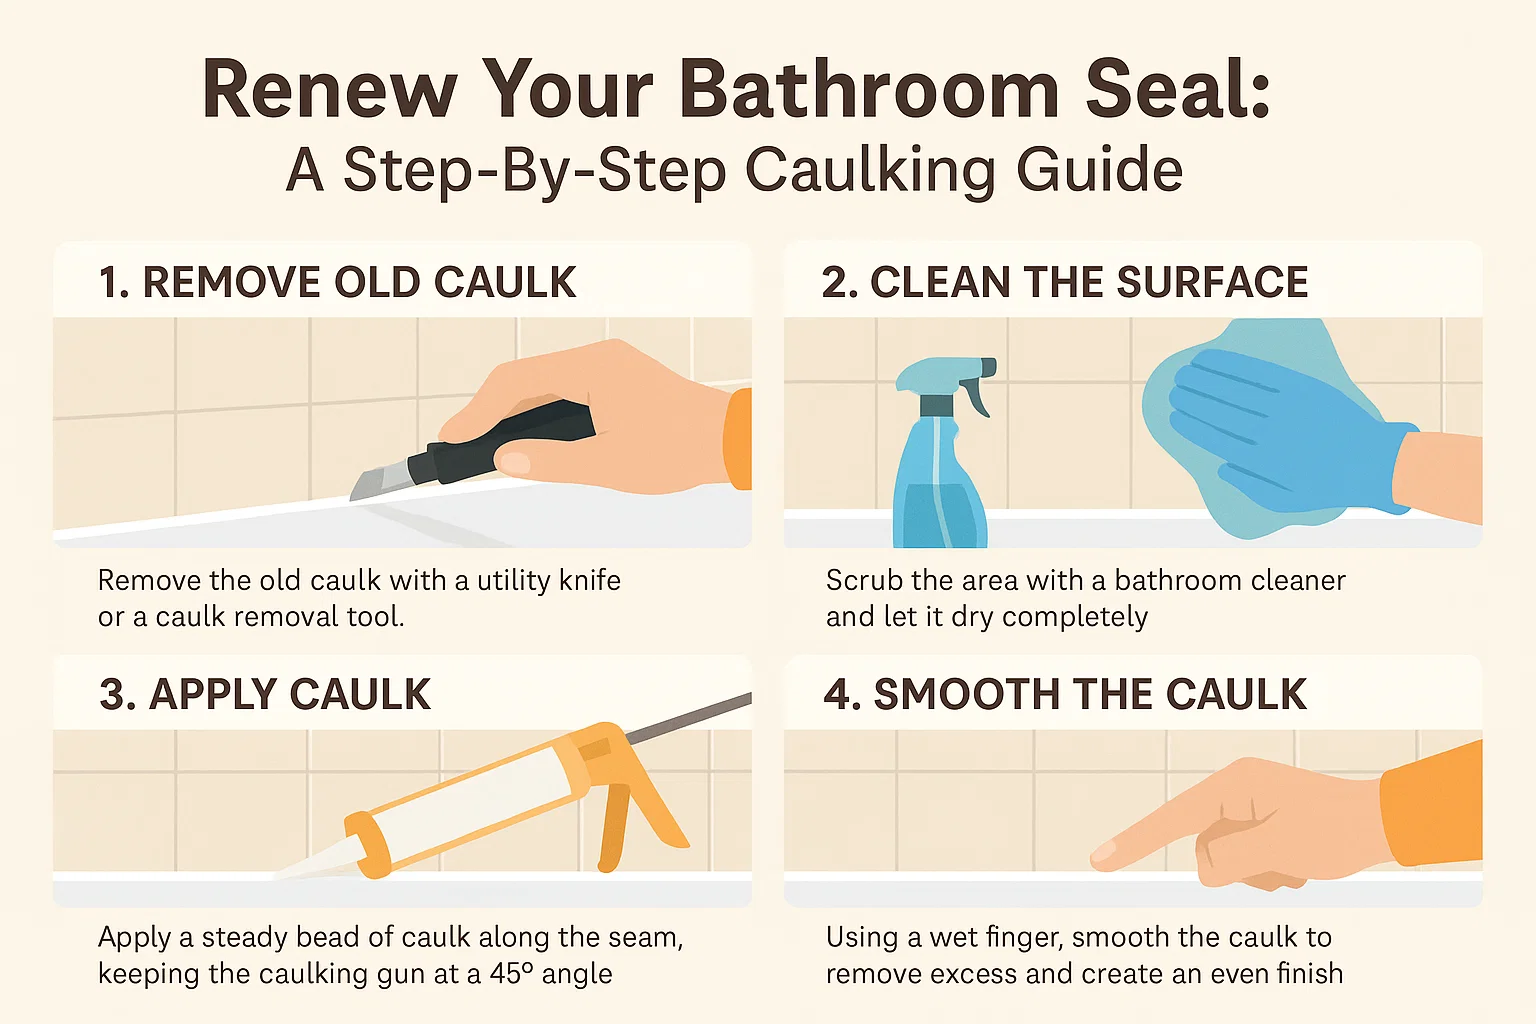
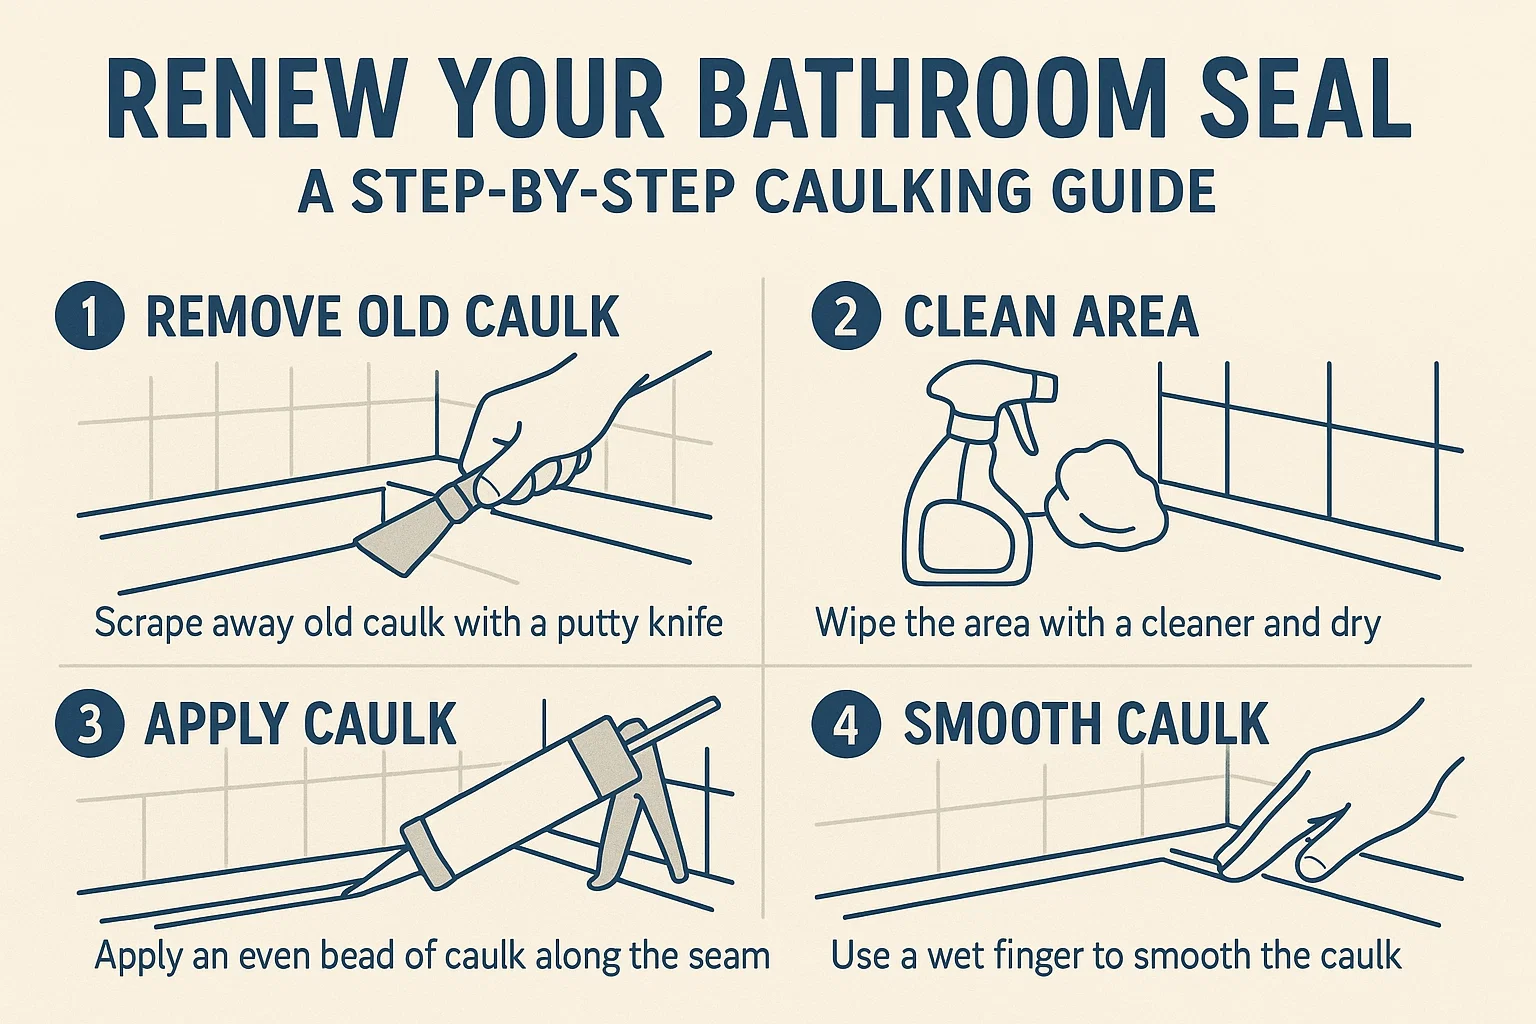
Step 1: Remove Old Caulk
- Cut and scrape: Use a utility knife to carefully slice through the old caulk bead. Gently scrape remnants with a razor tool, avoiding scratches on delicate surfaces like stone or plastic.
- Address stubborn residue: Apply a caulk-softening product to tough spots, following manufacturer instructions.
Step 2: Clean and Disinfect
- Sanitize the area: Wipe joints with isopropyl alcohol to remove grime.
- Eliminate mold: Treat visible mold with a specialized cleaner, rinse thoroughly, and dry completely.
- Final wipe-down: Use mineral spirits to degrease surfaces and ensure optimal adhesion for new caulk.
Step 3: Apply New Caulk
- Tape the edges: Place parallel strips of painter’s tape 3/8-inch apart along the joint.
- Prep the caulk tube: Cut the nozzle tip at a 45° angle to match your joint width (typically 3/16-inch).
- Fill the seam: Hold the caulk gun at a consistent angle, squeeze the trigger steadily, and glide smoothly along the entire joint.
- Smooth and shape: Immediately press the bead with a damp rag or finger to create a concave profile. Remove tape before caulk sets.
- Dry fully: Allow 24 hours of cure time before exposing to water.
Pro Tips
- Choose the right product: Always use 100% waterproof silicone caulk for showers and tubs.
- Work in sections: Tackle 2-3 foot segments at a time for better control.
- Fix mistakes fast: Wipe away errors with mineral spirits before caulk dries.
With patience and attention to detail, you’ll achieve a professional-grade seal that protects your bathroom from moisture damage and keeps it looking pristine for years.