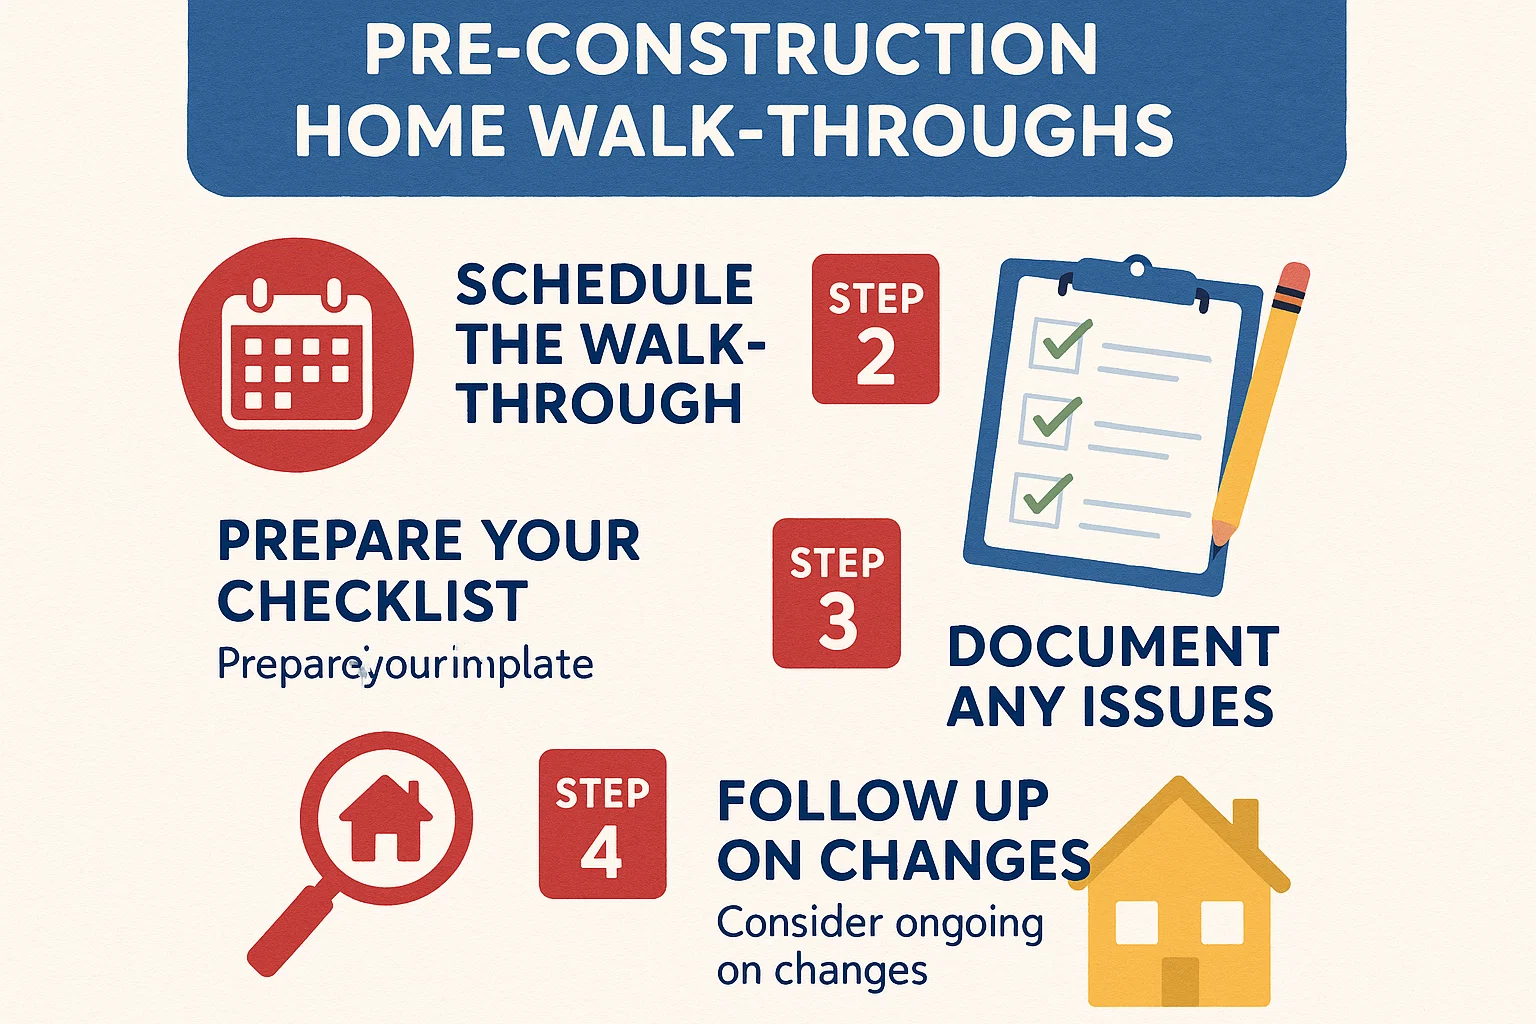
A Step-by-Step Guide to Pre-Construction Home Walk-Throughs
Your Essential Guide to Pre-Construction Home Inspections
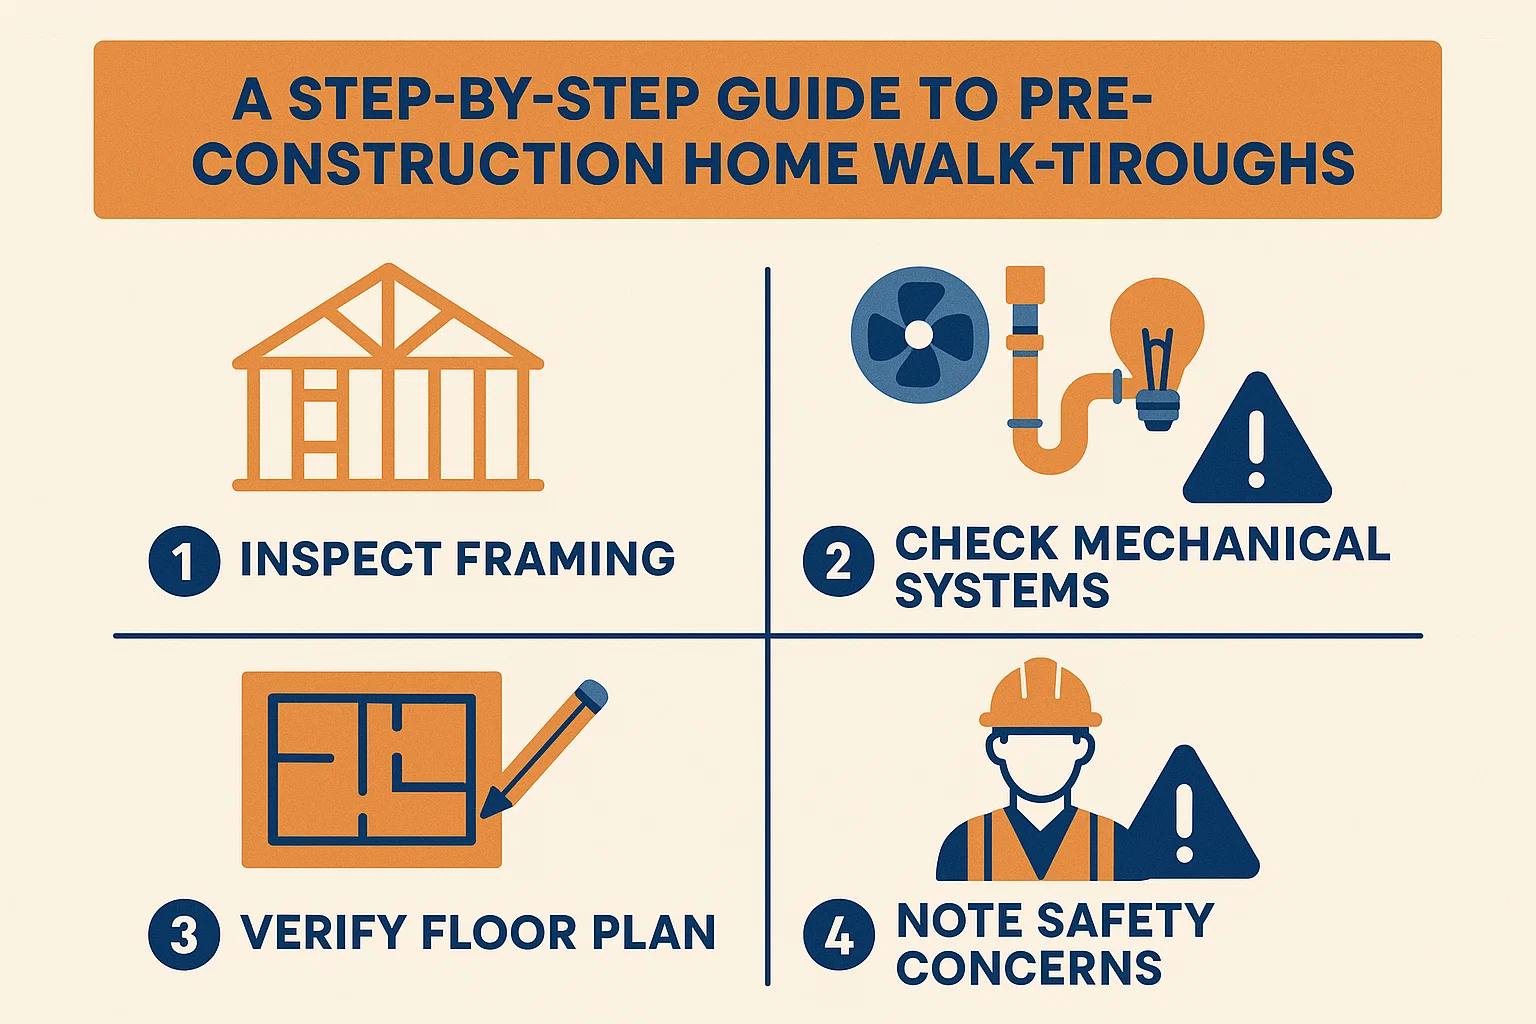
1. Pre-Drywall/Electrical Walk-Through
This inspection occurs after the home’s framing and electrical systems are installed. Buyers review behind-the-wall features to confirm selected options, such as:
- Electrical outlets and ceiling fan pre-wiring
- Security systems or electric vehicle charging stations
- Low-voltage wiring placements
Key Details:
- Duration: 20 minutes to 1+ hour (varies by home size and complexity)
- Attendees: Homebuyers, real estate agent, construction superintendent, and sales associate
- Tip: Wear closed-toe shoes and weather-appropriate clothing. Hard hats may be required.
2. New Home Orientation Walk-Through
Scheduled one week before closing, this session focuses on home maintenance and operation. Topics include:
- HVAC, water heater, and thermostat operation
- Emergency water cutoff location and usage
- Flooring, countertop, and surface care guidelines
- Breaker box overview and smart home technology
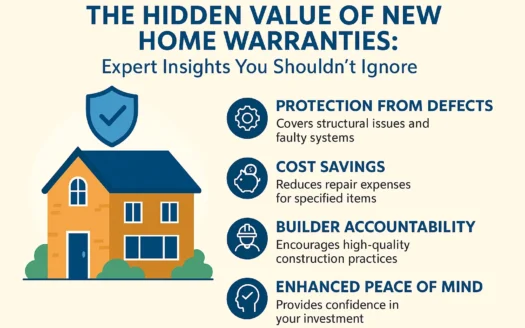
- Warranty coverage and claim processes
Key Details:
- Duration: ~2 hours
- Attendees: Homebuyers, construction superintendent, Home Care specialist, sales associate
- Bring: Notepad, camera, and permanent marker (for labeling paint cans or HVAC filters)
- Tip: Prioritize learning home systems over minor cosmetic fixes.
3. Closing Walk-Through
This final inspection happens 1–2 hours before closing. Buyers verify completed work and address pending items, such as:
- Resolution of prior repair requests
- Documentation of delayed installations (e.g., supply chain issues)
Key Details:
- Duration: ~30 minutes
- Attendees: Homebuyers, construction superintendent, Home Care specialist
- Bring: Camera to capture the milestone!
Final Tips for Success
- Limit attendees to essential parties for smoother communication.
- Document details (photos/notes) for future reference.
- Ask questions to clarify warranty coverage and maintenance routines.